During my work on the graduation project that deals with the topic of DLL injection, I had to choose the attack vector for the practical application I would demonstrate. After much discussion with my supervising professor, I was asked to develop a Human Interface Device (HID) to be the starting point in the attack process. I chose the Raspberry Pi Pico Microcontroller, and I had the W version that supports Wi-Fi, but in any case, the project works on both versions.
Table of Contents
- Table of Contents
- Disclaimer
- But What Exactly is Raspberry Pi Pico?
- CircuitPython and Why?
- Setting Up Raspberry Pi Pico with CircuitPython:
- Time To Code:
- Running the Code:
- Final Thoughts:
- References:
Disclaimer
This tool is intended for ethical security testing, authorized red teaming, and educational purposes only.
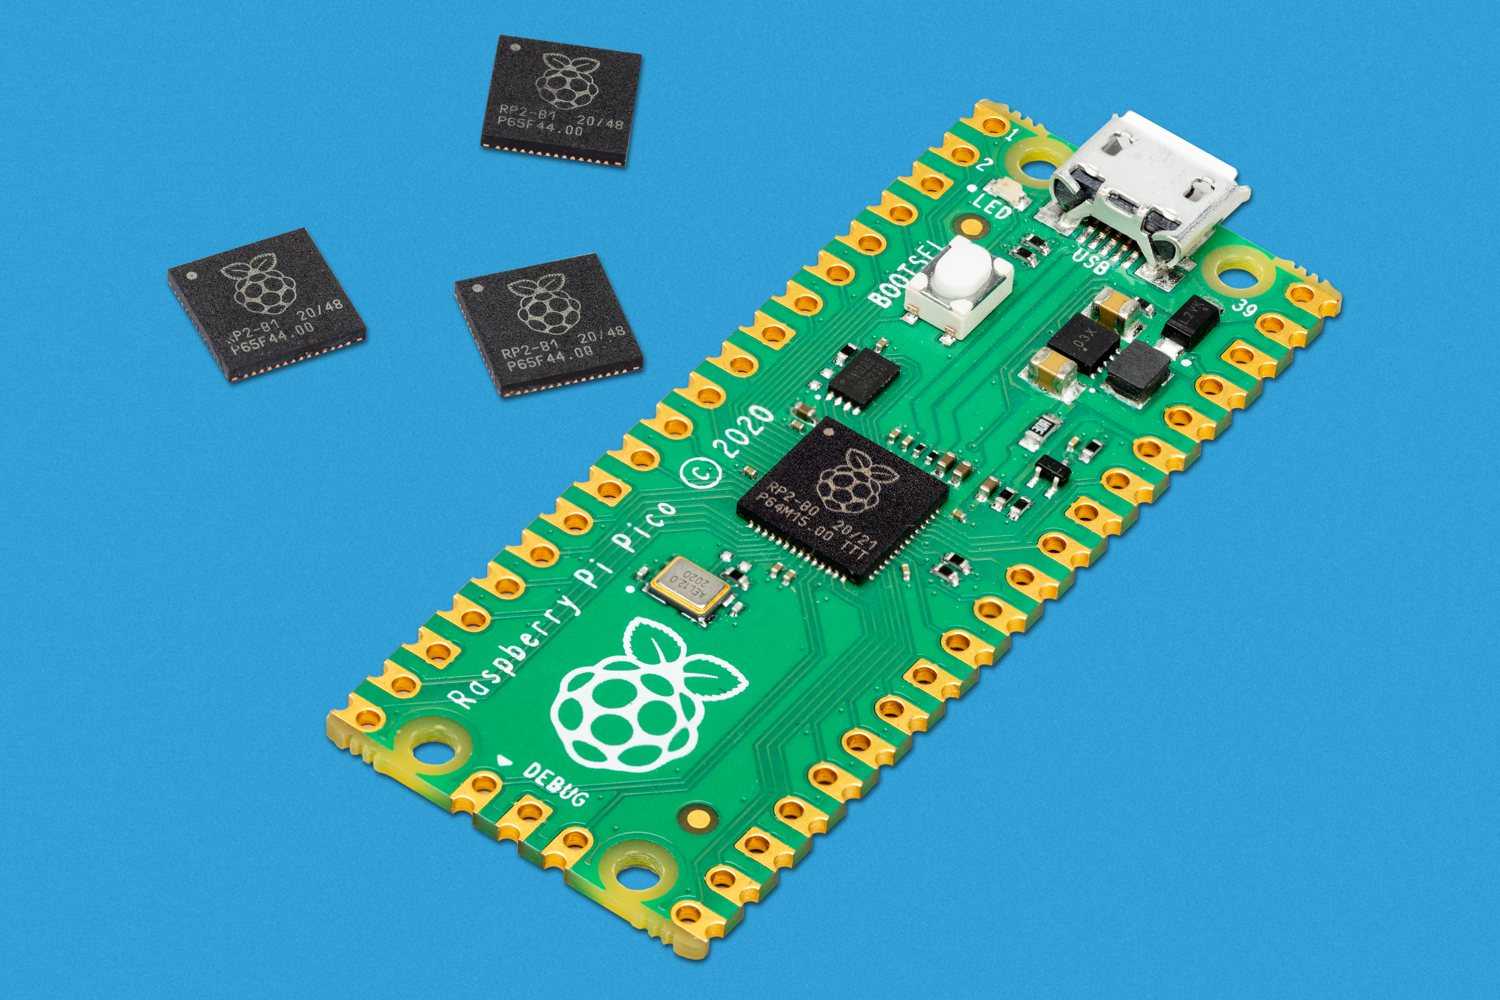
But What Exactly is Raspberry Pi Pico?
According to the Offical Website Raspberry Pi Pico is a low-cost, high-performance microcontroller board with flexible digital interfaces. It can be used from a simple light displays and IoT devices to signage and manufacturing processes. it has two versions the normal pico and the W version which supports Wi-Fi and it is programmable in C and MicroPython but in this case I won’t be using any of these but instead I will the CircuitPython Firmware.
CircuitPython and Why?

CircuitPython is an open-source, beginner-friendly programming language and runtime environment designed for microcontrollers and embedded systems. It is a derivative of MicroPython, optimized for simplicity and ease of use, particularly in educational and DIY electronics projects.
There are three reasons for choosing CircuitPython in this project:
- I tried first to develop the HID malicious USB using the natvie C/C++ Raspberry Pi Pico SDK using the tinyusb library. It was a bit hard at first then I fully understood the logic but in the end I stopped developing it for a very simple reason… The code was big and needed a lot of explaining in the project documentation which was already big enough and since the whole project concept was not even about the raspberry Pi Pico I decided to drop the SDK implementatin and search for something else.
- Adafruit videos are so cool and since they are the main supporter for the CircuitPython project up to this date I always wanted to use this firmware in a way or another.
- Finally it gets the job done in a very nice and clean way.
Setting Up Raspberry Pi Pico with CircuitPython:
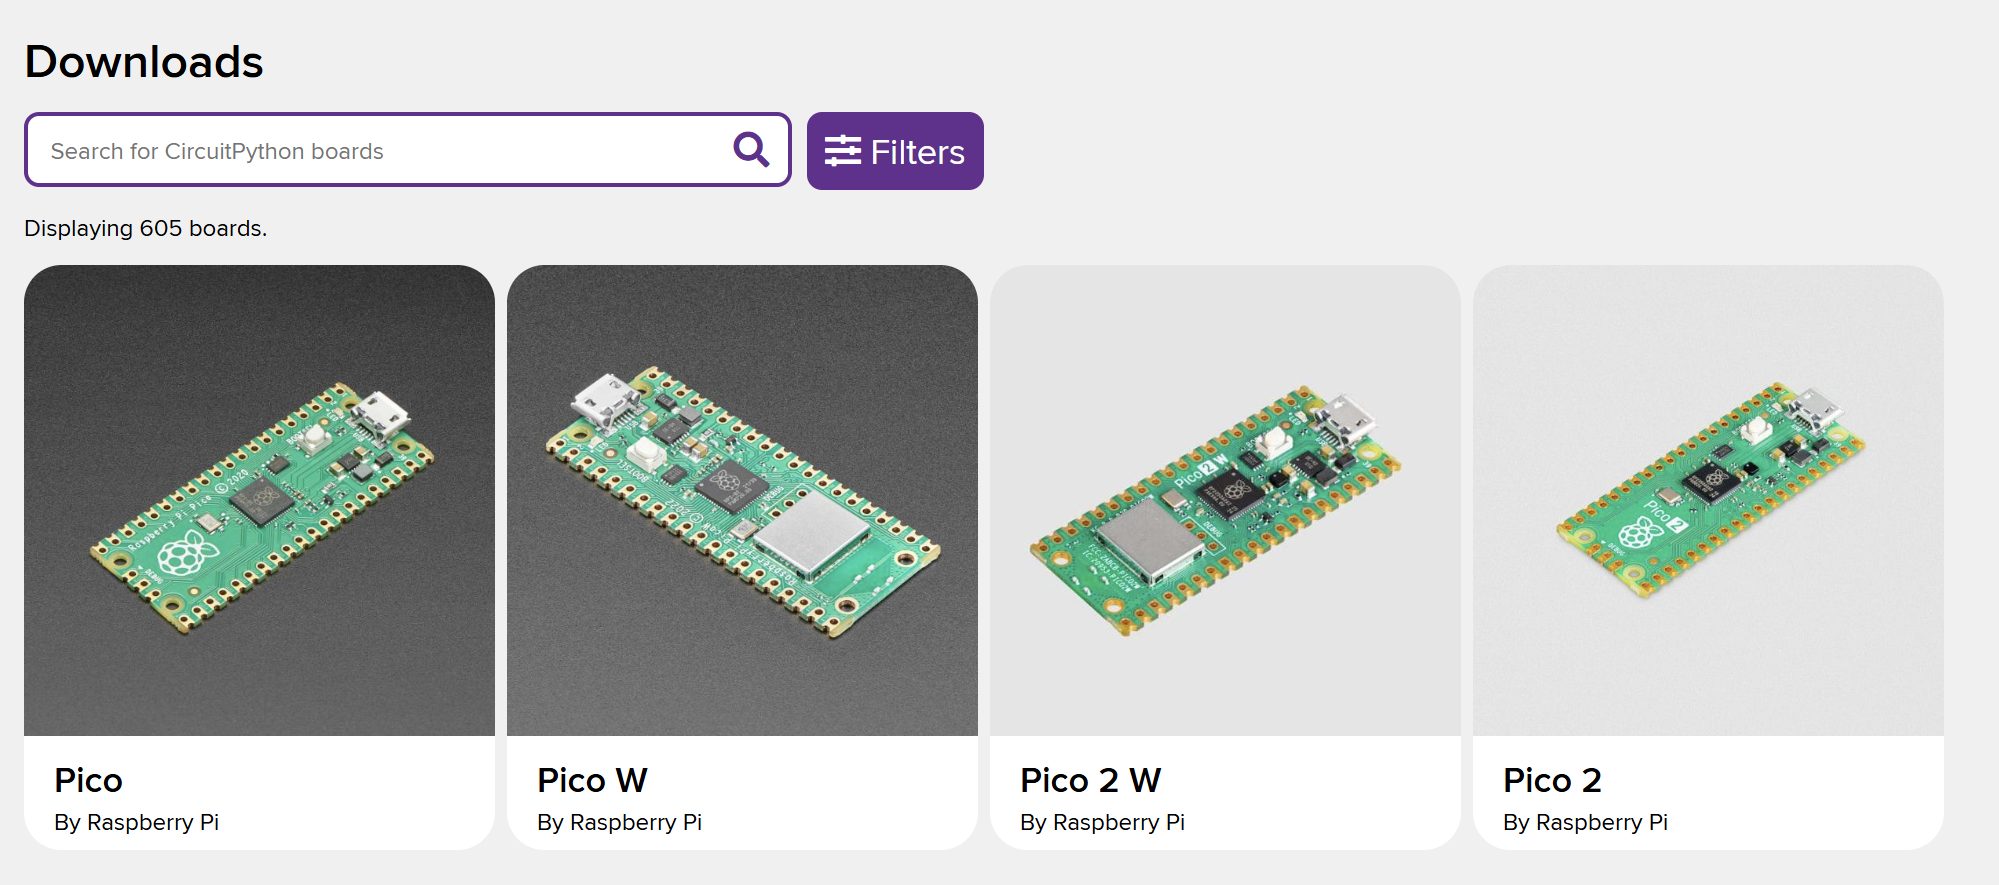
- Download the CircuitPython .UF2 file for the right microcontroller in my case it is the Raspberry Pi Pico W but as mentioned before this project works on both the Pico and Pico W. CircuitPython download page.
- Connect the Raspberry Pi Pico to your device using USB while holding the BOOTSEL button. A new connected device will appear.
- Drag and drop the downloaded .UF2 CircuitPython file in the Raspberry Pi Pico.
- The Raspberry Pi Pico will reboot and reconnect but this time it will show as a normal connected device with the name (CIRCUITPY).
- In the new Raspberry Pi Pico connected device you should see two things:
code.py: which holds all the code you want to runlib/: used for external libraries
- Since we are going to use the Raspberry Pi Pico as a HID USB device we need to add several files to the
libdirectory:- Download the latest CircuitPython Library Bundle
.zipfile from here - Unzip the downloaded file and copy the
adafruit_hid/from it to theCIRCUITPY/lib/ - Make sure you have the following files in the
lib/adafruit_hid/directory:Name ------- __init__.mpy consumer_control_code.mpy consumer_control.mpy keyboard_layout_base.mpy keyboard_layout_us.mpy keyboard.mpy keycode.mpy mouse.mpy
- Download the latest CircuitPython Library Bundle
- Open
code.pyfile in any code editor you want.
Now we are ready to start coding!
Time To Code:
But wait what exactly we want to do?
In a very general form we want to connect the Pico through USB to any device and run a certain command.
First: Implementing the libraries:
from adafruit_hid.keycode import Keycode
from adafruit_hid.keyboard import Keyboard
import usb_hid
import time
adafruit_hid.keycode: This module holds the USB HID Keycode constant.adafruit_hid.keyboard: This module send HID keyboard reports.usb_hid: Driver simulates USB HID devices.time: This is a built in module in the python package that provides various time-related functions.
Second: Defining the special characters and digits we need manually:
# Special characters manually
special_characters = {
    " ": Keycode.SPACE,
    "-": Keycode.MINUS,
    "'": Keycode.QUOTE,
    "\"": Keycode.QUOTE,
    ".": Keycode.PERIOD,
    "/": Keycode.FORWARD_SLASH,
    "\\": Keycode.BACKSLASH,
    "(": Keycode.NINE,
    ")": Keycode.ZERO,
    "[": Keycode.LEFT_BRACKET,
    "]": Keycode.RIGHT_BRACKET,
    ":": Keycode.SEMICOLON,
    ";": Keycode.SEMICOLON,
    "$": Keycode.FOUR,
    "%": Keycode.FIVE
}

# Digits Characters
digit_keycodes = {
    "0": Keycode.ZERO,
    "1": Keycode.ONE,
    "2": Keycode.TWO,
    "3": Keycode.THREE,
    "4": Keycode.FOUR,
    "5": Keycode.FIVE,
    "6": Keycode.SIX,
    "7": Keycode.SEVEN,
    "8": Keycode.EIGHT,
    "9": Keycode.NINE,
}
We defined them manually because: first after many testing I found that this is the most consisting way of dealing with special charcters when using the Raspberry Pi Pico as HID device. second we need them in this way to be able to use the special characters since most of them require pressing two buttons at the same time (Shift + <char>).
Third: Defining the function to type the commands:
def type_command(command_string):
    for char in command_string:
        if char.isalpha():
            keycode = getattr(Keycode, char.upper())
            keyboard.press(keycode)
            keyboard.release_all()
        elif char.isdigit():
            keyboard.press(digit_keycodes[char])
            keyboard.release_all()
        elif char in special_characters:
            # SHIFT-needed characters
            if char in [":", "(", ")", "_", "+", "|", "{", "}", "<", ">", "?", "$", "\"", "%"]:
                keyboard.press(Keycode.SHIFT, special_characters[char])
                keyboard.release_all()
            else:
                keyboard.press(special_characters[char])
                keyboard.release_all()
        time.sleep(0.01)
We will send the keys on at a time since after running multiple tests this was the most comprehensive way that supports the widest range of implementations.
Note that you can send a single string at once using the layout.write() function that exists in the adafruit_hid.keyboard_layout_us module you can read more about it here
Fourth (Optional): Open the Run Dialog in Windows function:
def open_run_dialog():
    keyboard.press(Keycode.WINDOWS, Keycode.R)
    keyboard.release_all()
    time.sleep(0.5)
    # Clean the Run dialog
    keyboard.press(Keycode.BACKSPACE)
    keyboard.release_all()
    time.sleep(0.5)
This step is optional but this is the proper way to open the run dialog before you type command you want to execute. The functions used here will be explained in the next step.
Fifth: The Main Function:
# Initialize keyboard
keyboard = Keyboard(usb_hid.devices)
time.sleep(1)

# Open run dialog
open_run_dialog()
time.sleep(0.5)

# Type the command you want in the run dialog
type_command("<command>")
time.sleep(0.5)

# Press enter
keyboard.press(Keycode.ENTER)

# Relase the keyboard
keyboard.release_all()
Since everything is self-explanatory so I will hit you with some notes:
- The
time.sleep(<value>)depends on what are you exactly doing for example running an run as administrator dialog will require you to sleep for 2 seconds at least depending on the hardware of the device you are connecting to so make sure you set it up proberly keyboard.release_all(): This is a very important pieace of the code try not to forget it like I did many times.
Running the Code:
- Testing: If you are coding on vscode and have the Raspberry Pi Pico extention installed you will notice that the code is running everytime you save the file.
- Running: after finishing and saving the file just unplug the Raspberry Pi Pico from your device and replug it in any other device and your code will run perfectly (most of the times).
Final Thoughts:
This is a very general way of developing a microcontroller that can be used as a malicious USB device so there is many other things that you need to keep in mind:
- The timing of sleeping in every function and command you ran might vary from hardware to hardware and from command to command.
- There are many other tools that can do the same job that I can recommend: ESP32, Digispark (ATTiny85).
- Next Step: Try to implement the same logic using C/C++ Raspberry Pi Pico SDK
Thank you for reading.